Brassai.

|

|

|
Brassaï was born on the 9th of September 1899 and died on the 8th of July 1984. Orginally from Hungary, he moved to France at the age of 3. He served for the Austro-Hungarian Army in WW1. He focuses his pictures on the dark side of the environment and enjoys taking pictures with thick fog. He uses low ISO and High shutter speed to capture the exact moment and also to make it look gloomy and spooky.
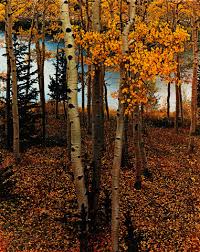
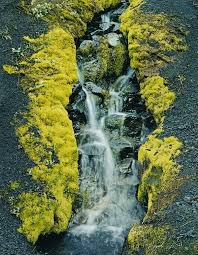
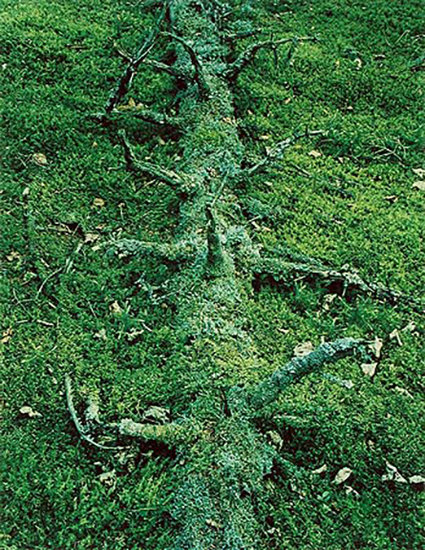
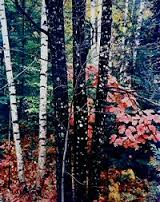
Eliot Porter.
|
|
|
|
Born on the 6th of December 1901 and died on the 2nd of November 1990, he loved taking pictures of nature and bright colours. Porter earned degrees in chemical engineering and medicine but prefered art and taking pictures
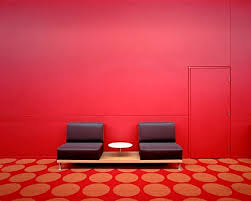
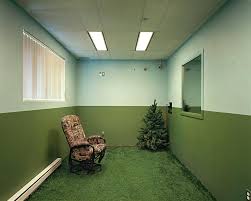
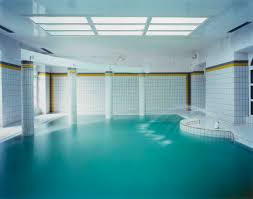
Lynne Cohen.
|
|
|
Born on the 3rd of July, 1944 and tragically died recently on the 12th of May 2014 because of lung cancer, Cohen focused on the mostly on the rule of thirds and negative space. She is orginally from Canada but moved to America in 2004.
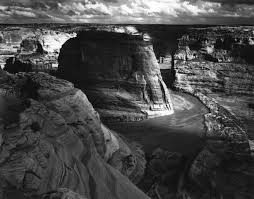
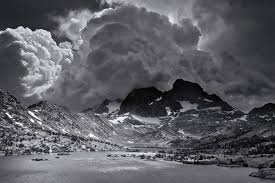
Ansel Adams.
|
|
Born on the 20th of Feburary 1902 and died on the 22nd of April 1984, Adams loved to take pictures of nature in it's full glory. He mostly used large format cameras due to their high resolution and this insured sharpness in his images. He travels to lots of different parts of the world to find the perfect place to take a picture. This place must have natural beauty, wether it's mountainous cliffedges, or beautiful glissering lakes, Ansel finds a place that almost looks surreal and takes a long time to find the perfect position so that the scenery will blow the viewer away.
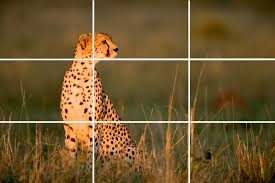
Rule of Thirds.
The rule of thirds is the idea of your picture being divided into thirds both horizontally and vertically. This can help with the structure of the picture and can help placing the centre of interest for good composition.
(Composition just means the arrangement of the parts of an image)
(Composition just means the arrangement of the parts of an image)
|

|
|
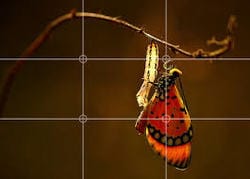
Negative Space.
Negative space is the area of the photo which surrounds the main subject of the photo, and is the space not really being used in the photo. For example, in this picture, the main subject is the leaf, and the floor surrounding it is the negative space. Another word for the main subject is positive space.

Cinemagraphs.
A cinemagraph is an image and some of it is moving, but the rest is a completely still image. For example, a picture of a women with only her hair moving or a still image with only waves in the sea moving. This is achieve:
Step 1
Drag your video file into Photoshop, the shorter the video the better (you will only use a few seconds)
The video will open up in a timeline below (if it doesn’t go into window drop down and select timeline), play the video make sure you select loop/forever in the settings drop down (cog icon)
You need to select part of your video you would like to loop (it cannot be the first frame)
To select the part of the video you want move the red line to the point you want then go to the beginning of the clip and drag it to the red line till it snaps in place. This will trim the video for you. Repeat this step from the end of the clip, remember you want a short clip.
Step 2
You will see the clip skips when you loop the video as it doesn’t finish with the same frame as it starts.
On the right of the screen you will see ‘video group 1’ drag that down to the new layer icon (folded square) to copy the video group. You should now see 2 layers on your timeline.
Drag the bottom video layer along the timeline to the end of the top video layer till it snaps into place.
Drag the beginning of the bottom layer to the left to bring back what you had preciously cut. Now clip the end of the second layer till it matches up with the end of the top layer.
Step 3
Now you are going to blend the 2 layers to create a seamless loop.
Go to the drop down on video layer 1 copy, move the red line to the beginning of the second layer and clip on the stopwatch next to ‘opacity’ you should see a yellow diamond. Move the red marker to the end of your footage and click opacity again and select 0% on opacity to the right of your screen. (Between the two diamonds the opacity should go from 100% to 0%)
Step 4
To create a still layer over the top select layer one copy and press ‘shift + command + E’ (there should be no movement when playing the footage) drag the new layer across the whole of the timeline (from beginning to end of footage). Create a mask on this still layer.
You can also watch this YouTube Video which might be easier for you: https://www.youtube.com/watch?v=2DU0Sim_BJ4
My cinemagraph.
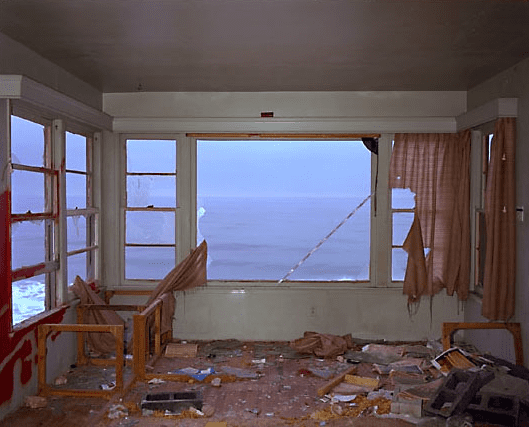
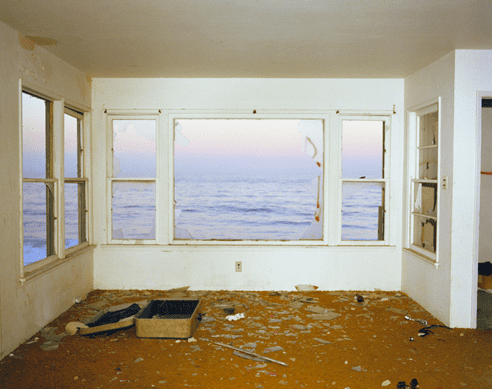
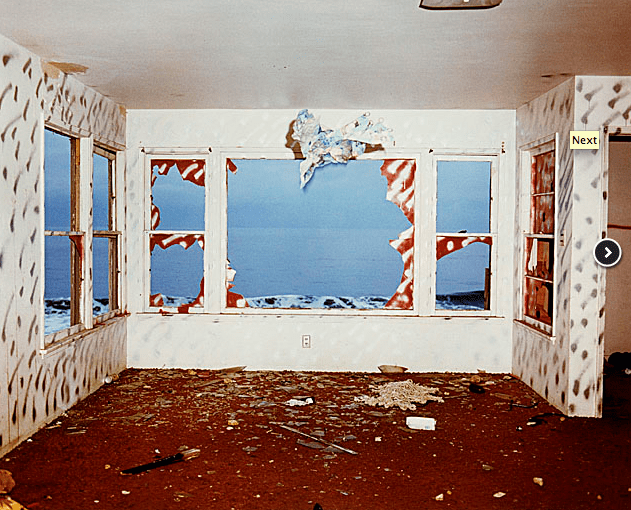
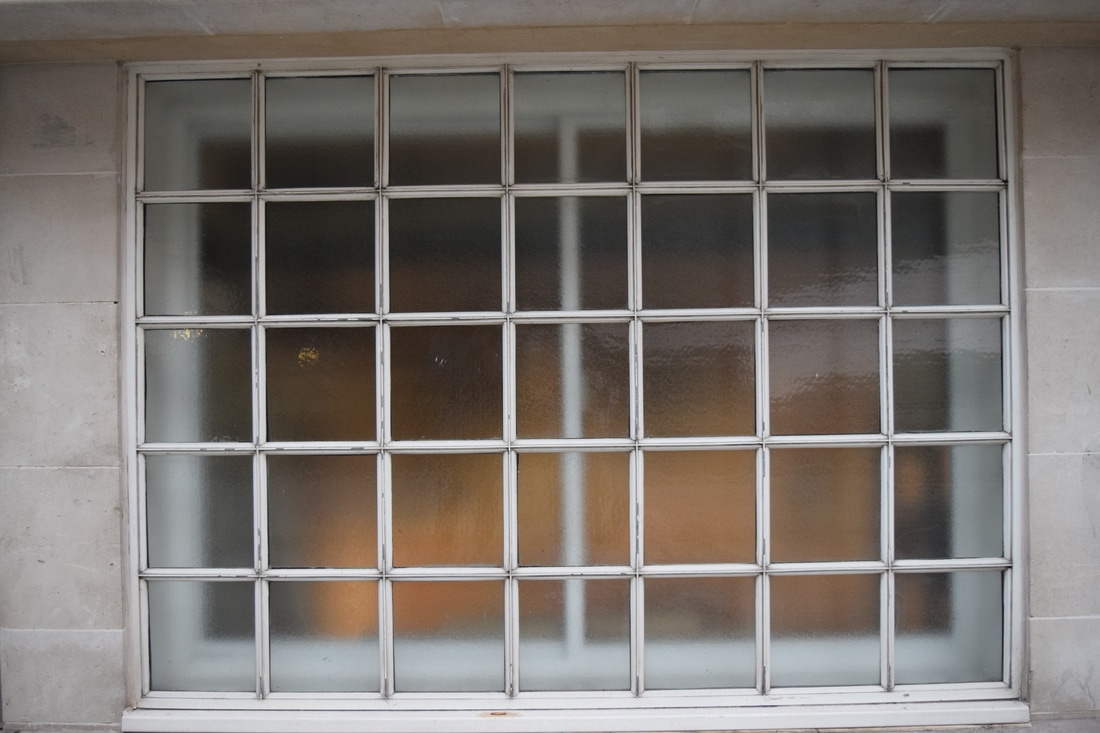
Framing the environment.
When putting a frame within a photo, you really focus on the parts inside and usually see more than without it and with more detail. John Divola was a photographer who loved doing this. He has a collection of 3 famous images which in some kind of house with the sea outside the broken windows.
|
|
|
In this project I will practice this technique and show it to everyone. Here are my pictures which frame the enviornment.
Simple Editing.
Step 1: You start off by Re-Sizing the Image. This is found on Image > Image Size . You should Re-Size it to about 30cm Width, doing this will automaticaly Re-Size the Height for you. Also, keep the resolution at around 200 pixels/inch. DO NOT edit the Pixel Dimensions, only the Document Size. Next, you go on Image > Adjustments > Levels... and edit the image until most of it looks fine.
Next, you create a masking layer. You do this by clicking the white and black circle of the bottom right of your Photoshop, and going on Levels.
Now, you ajust the part of the image you want to edit and make sure it looks good. If the rest of the image looks bad, ignore it.
Now go on Edit > Fill. On Contents, select black, and select what you want to brighten.

|
|
Clone Stamp - This took 30 mins to do

|
|
Formal Elements
TEXTURE

|

|

|
PATTERN

|
|

|
PERSPECTIVE

|

|

|
NEGATIVE SPACE

WWW: This picture is a good use of negative space
EBI: |

|

|
COLOUR

EBI: Its doesn't contain many colours that stand out
|

In this picture the colour red and blue are really bright and bold.
|

|
CONTRAST

|

|

|
Close up and far away
In this set of observations I photographed images relevant to my theme, Nature.

74f

Ansel Adams trees
Ansel Adams
What do you think the photographer’s intentions are? There may be more than one. ‘PEC’ each intention.
P Ansel Adams creates Landscape photographs.
E He does this by using a high resolution camera and travelling to decimate places like mountainous areas where there are no signs of human life and finds the perfect place to take a picture where there is the best beautiful scenery.
C He/she wanted us to consider beauty of Nature, and that we should cherish it and not ruin our beautiful planet.
What wider issues is the photographer addressing?
P Adams is considering
E This is shown by … (describe something in the image)
C The (Photographer’s name) was interested in this issue because (they felt it was relevant to us now…)
How do the materials and techniques used support your photographer’s intentions?
P Adams has used high aperture and slow shutter speed.
E This creates a ______ effect. (describe something in the image)
C This helps to support (Photographer’s name) point about (showing an identity / hiding a person’s identity / the media / anonymity)
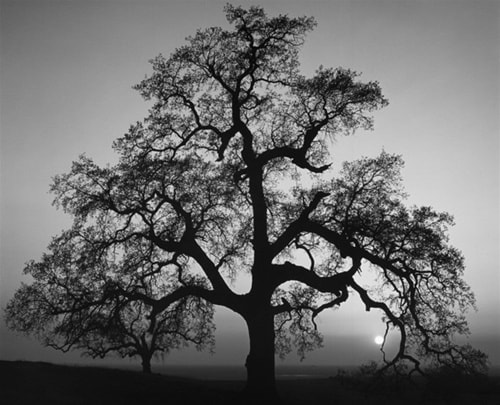
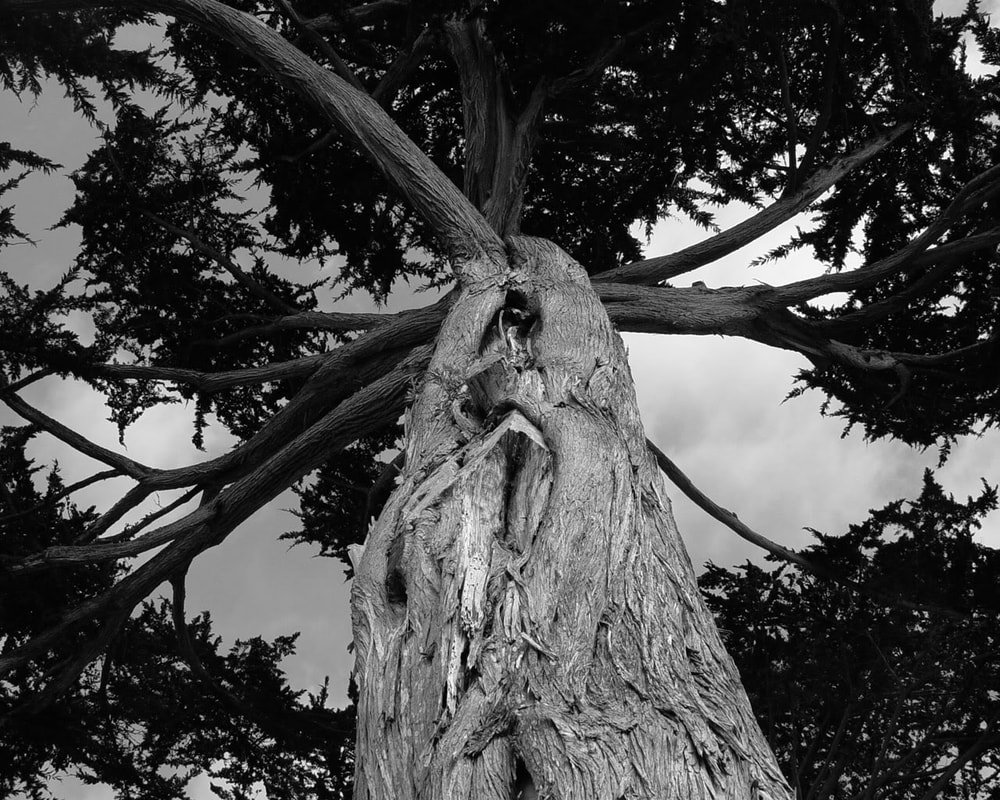
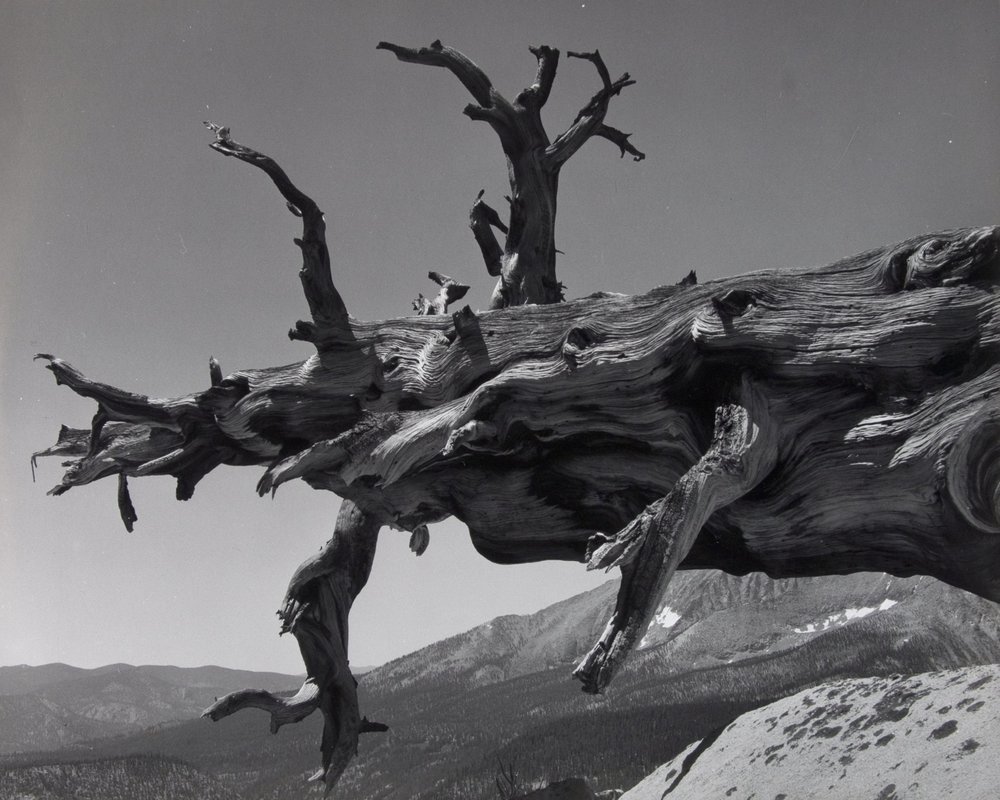
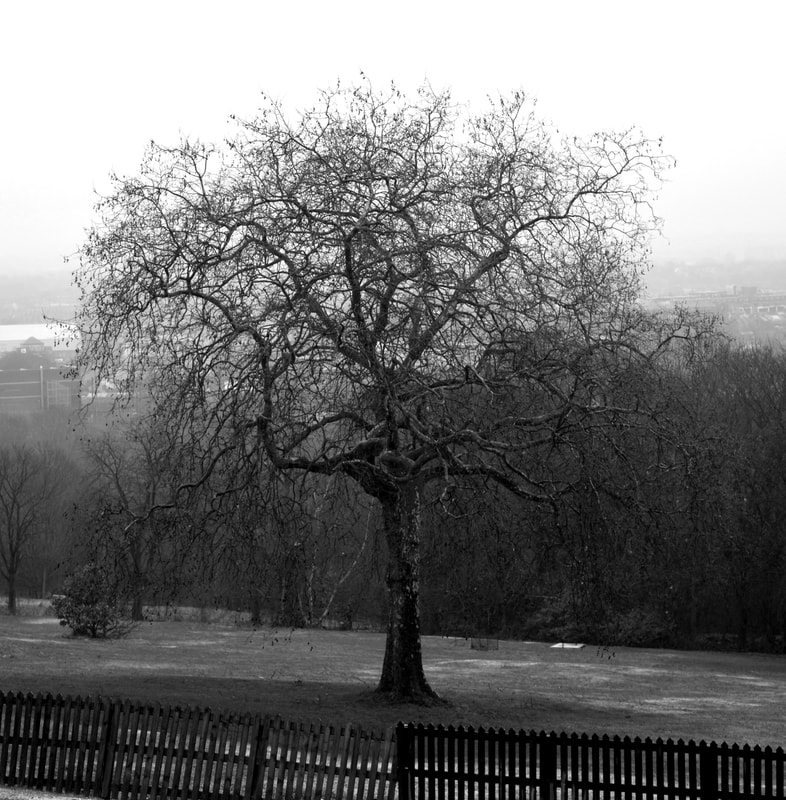
Ansel Easton Adams was born on February 20, 1902 and died on April 22, 1984. He created Landscape photographs. He did this by using a high resolution camera and travelling to desolate places like mountainous areas where there are no signs of human life and finds the perfect place to take a picture where there is the best beautiful scenery. He wanted us to consider beauty of Nature, and that we should cherish it and not ruin our beautiful planet. When Adams photographs trees, he makes sure to use Low ISO, and makes sure to include the sky, and the branches of the tree in the picture. Ansel adams founded a group called f64. This group of 7 photographers all had a similar photographic style which was sharp, carefully framed images . Their aim was to promote a new, modernist aesthetic that was based on exposed images of natural forms and found objects.
I will base my photographs from Ansel Adams work with photographing trees, and taking some of his techniques and applying them to my photographs. I will do this by using high aperture and slow shutter speed, making sure I keep my camera on a stand to prevent out of focus images.
I will base my photographs from Ansel Adams work with photographing trees, and taking some of his techniques and applying them to my photographs. I will do this by using high aperture and slow shutter speed, making sure I keep my camera on a stand to prevent out of focus images.
Adams' Work:
|
|
|
My work:

|

|

|
|
